

 The next few are from Simplicity's 2613. They came together pretty quick and I thought they were super cute. The elephant is for Maliah...
 ...And the giraffe is for Anna. I made the mane like a rag quilt, since her rag quilt is her most treasured possession. She loves to rub the edges when falling asleep, so naturally, I modified the mane to incorporate this feature. She loves it!
 If you have never visited their website, you won't be dissappointed! Their designs are awesome! I love all their collections. They even have a few bridesmaid's options (below) - wouldn't you kill to have worn a dress like this instead of those frilly things?! Geez, I would've worn this to get married in!
 Next up, full circle dresses. Which I love. I think they are so flattering and timeless. Like when you are wearing one, you could've walked off the pages of 1960 Vogue. The following is from Wedding Inspirasi:
 When I was in college I spent a semester in China, and had a number of clothes custom made for me and they are so beautiful. If you've never done that, don't pass up the opportunity if it arises! Few things will make you feel as beautiful as a custom tailored garmet.
 For example, the above coat from, Imoda by Xiaqq. Wouldn't you feel like the "Belle of the Ball" whenever you wore this? Which remindes me, have you seen, The Tourist? Oh, my goodness, the fashion is so glamorous! It'll make you want to wear dresses and pearls everyday! If I were, Elise, I'd wear something like this, don't you think?
(also from Shabby Apple)
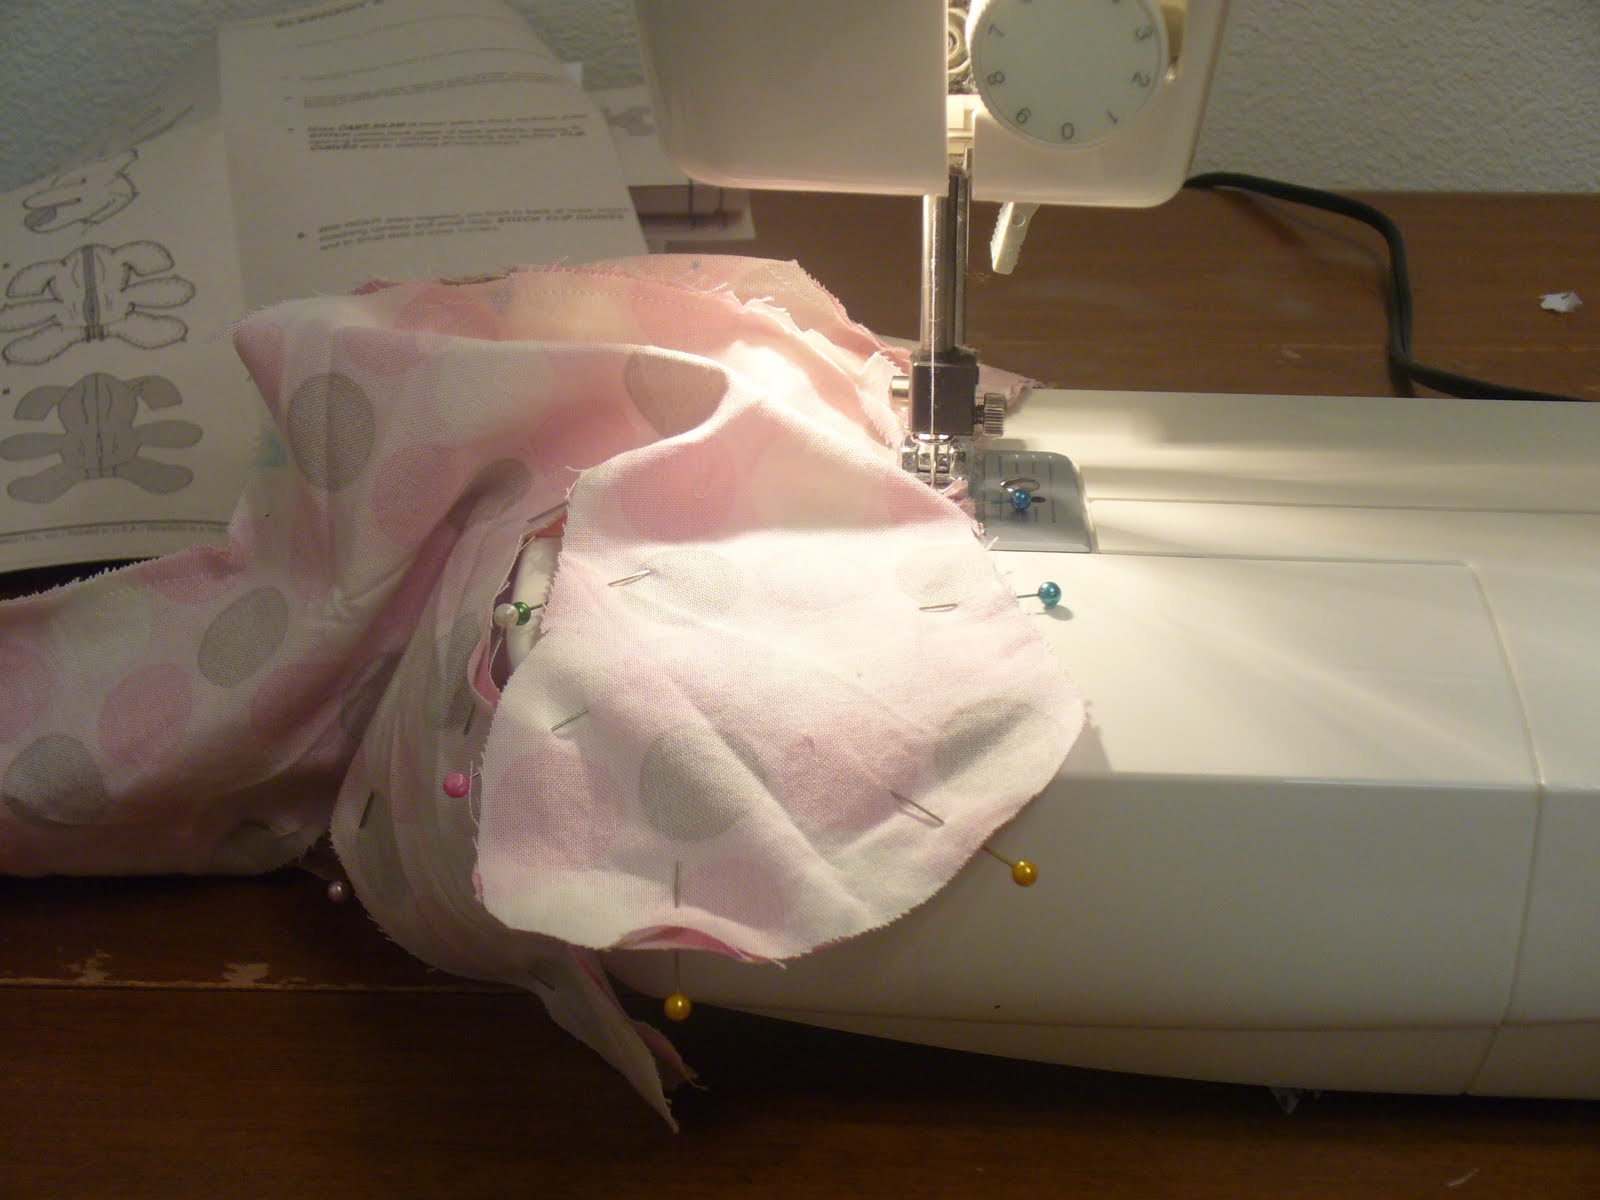 I can't believe Christmas is almost here - I still have so many projects to finish! Why do I always do this to myself? Last year I swore I would start making Christmas in July, but I obviously didn't learn enough from my perpetual all-nighters! So, here we are again, 4 days from Christmas and I still have all these projects to complete:
...giraffe, dinosaur, one pair of shoes, 4 dolls and an elephant.
 Then I painted mine Intense Teal by Behr! I thought the color might be a little too intense, but I loved it so much I decided just to go for it. It took about 3/4 of the little sample jars you can get at Home Depot. After the paint dried, I glazed over it with copper.
 I love them! The copper glaze took some of the brightness out of the teal, but it is still very bold - which I like. Kind of funny since I don't consider myself a very bold person. Hmm...maybe that's why I like the color so much. And they also have a worn, kind of vintage quality about them.
 And, yes, that is snow outside the sliding glass door. We are getting pounded with our first snow storm of the season here in the Western United States. I've been super grumpy - I think I need some cookies and a cup of coco! And a healthy dose of sunshine. And maybe a little Castle, too.


