Tuesday, June 14, 2011

Petticoats 101

I had debated about making petticoats, and decided last min to do it, and I'm glad I did! Our pics turned out so much better with them. BUT, that meant there was even more things that needed to be done before the big day.

Good thing I love to waste time blog surfing and came across this post from Gertie about petticoats! So, I headed to JoAnn's and purchased both the magazine and all the supplies for 3 petticoats. They were easy and came together fairly fast. I made and finished all 3 on Memorial Day (shout out to Ron for being Mr. Mom!!).

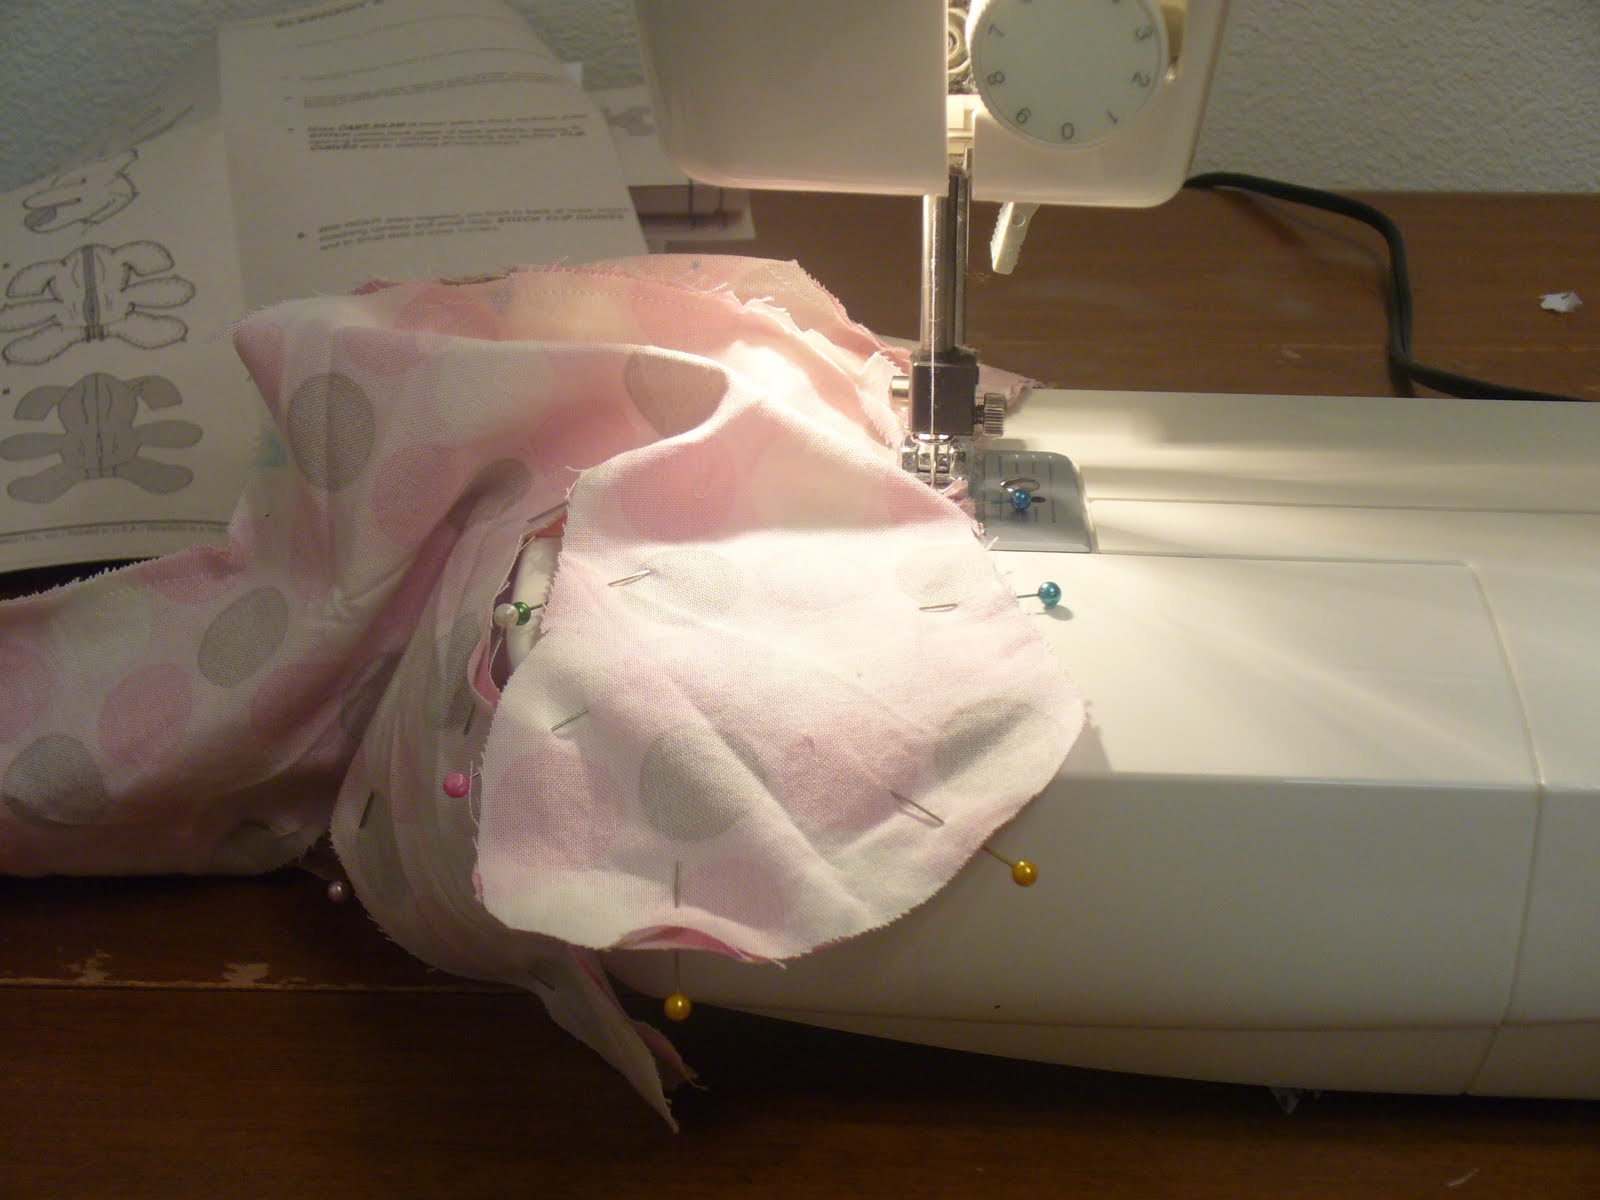
The hardest part was gathering the tiers, and then attaching them all while maintaining an even fullness. My thread kept breaking when I was gathering, so I tried using 100% polyester thread, but it didn't make any difference. So, I started googling. One person suggested fishing line - horray! Ron has an entire box of fishing line in the garage. So, I hand wound it around a bobbin. It worked for a bit, but started getting stuck under the feed dogs. So, I just moved it to the thread spool, and used it there.

For the most part, I am really happy with them. They are super cute under the dresses and the bias finish looks so good!

I decided to attach the girl's to an undershirt and sew a piece of lining under the petticoat to help prevent all of the itchies from the nylon net. This was an awesome idea! Not only did it make it easier for them to get dressed, but the undershirts also acted as a lining, so their dresses were not too transparent.
Now they are asking to just wear the slips!


Thursday, June 9, 2011

Liah's dress

So, remember when I was going to get Liah's dress done before we went on vacation? Well, it didn't exactly happen. I cleaned the house instead...BIG mistake. Totally should have finished the dress and cleaned later!

After vacation, I came home and busied myself with finishing her dress, because I hadn't even begun my dress. And I knew mine would be quite the project. Maliah's came together pretty quick. I read up on how to make pin tucks in my favorite sewing book, and away we went! They were easier than I thought. But, every wave in their sewing line is obvious on the dress. To look perfect, each line of stitching needs to be perfectly parallel to the previous one. I'm sure no one else will even notice...Why is it that we are so much more critical of ourselves, than others?

Anyway, after the tucks and ribbon were attached, then it was basic stuff - attaching front to back, marking button placement, and gathering/attaching the skirt to the bodice. Then the sleeves. The last part was covering the neck/sleeve edges with self bias. Although the process wasn't necessarily difficult, it was time consuming, because it was done by hand. I suppose I may have been able to blind-hem stitch it, but I don't remember how...Maybe its time to read up on that!
I used flat felled seams (which are easy, these are like the seams on jeans) with Anna's dress, and it was too stiff. So, I used french seams on this one instead - which I love!!! I think they are my favorite seam finish, and I may begin to use them as my default whenever I sew. There are a lot of tutorials online, if you aren't sure how to do them. They are so easy, and look amazing.

Up next: Petticoats!


Monday, June 6, 2011

Midnight Oil


Oh, my goodness, friends! So much sewing has been happening at my house that I think I'm ready for a big break - and whole lot more sleep! And my children are asking when their Mom is coming back, as is my husband.

Good thing for them our pics are tomorrow!!!!!! All the sewing, pressing and starching are finally finished, so I'm headed off to actually go to bed before the wee hours of the morning. In the coming days, I'll be posting pics and doing a lot of talking about all the things I learned (by doing them the wrong way, of course).

Happy sewing friends!

Monday, May 2, 2011

Look what I made!

We've (I've) decided to have a themed family photo this year. They are in about a month and guess what our theme is?! The 50's!!!! I LOVE the 50's. So, I have been busy getting patterns and fabric to make some dresses for the girls and I. Here is the first one - Anna's little full circle dress:
It is so amazing! I can't believe those little darts. Seriously so cute. It has self-made bias tape for arm and neck facings, all hand stitched. And the skirt allows for a 4" hem - crazy compared to today's patterns. But the tacking allows for a seamless finish on the outside, which is very professional. I can't believe I just used the word "professional" in the same sentence regarding something I made. I like it, but don't expect it to happen too often.

This is the back. The skirt will come about mid-thigh and she'll wear bobby socks and black mary janes! Oh, my gosh, I'm so excited just typing about it! Can you believe how long those ties are? She is going to have one seriously big bow. Speaking of which, does anyone know how to tie a perfect bow?

I ordered a vintage pattern from Midvale Cottage on Etsy. I was a little worried about being able to read the pattern because I thought so many techniques would be assumed, but it wasn't too bad. I did get out my sewing book to read about the facings, but other than that it was pretty straight forward.

I want to have Liah's dress done before we leave for D.C. - next Friday. I haven't started yet, and it has loads of pin tucks on the bodice, which I have never done. Hopefully, I'm not being too adventurous! So stay tuned for more vintage awesome-ness in the coming week!

Posted on:


Monday, February 21, 2011

Celebrating the Boy

If you aren't familiar with Made by Rae, be sure to check out her blog soon! This month's posts are all about creating for the little boys in your life! Guest bloggers and loads of fun projects!

Wednesday, February 16, 2011

Finally!

So, I finally have a few pictures of the loveys I made for Christmas! First up are some super cute dolls from Wee Wonderfuls. The girls love these little babies. I made these with wool felt hair - which I like working with more than the polyester felt - even though its drastically more expensive. The biggest downfall is that now the dolls are not machine washable. What would you prefer, the polyester or the wool?

The next few are from Simplicity's 2613. They came together pretty quick and I thought they were super cute. The elephant is for Maliah...

...And the giraffe is for Anna. I made the mane like a rag quilt, since her rag quilt is her most treasured possession. She loves to rub the edges when falling asleep, so naturally, I modified the mane to incorporate this feature. She loves it!

Thursday, January 13, 2011

Retail Therapy

Our camera cord is currently MIA, which means I can not load any of the photos onto our computer. Which means, there is no creating to blog about, so instead of my own. I'm going to blog about other people's creativity!
First up: Shabby Apple!
If you have never visited their website, you won't be dissappointed! Their designs are awesome! I love all their collections. They even have a few bridesmaid's options (below) - wouldn't you kill to have worn a dress like this instead of those frilly things?! Geez, I would've worn this to get married in!
Next up, full circle dresses. Which I love. I think they are so flattering and timeless. Like when you are wearing one, you could've walked off the pages of 1960 Vogue. The following is from Wedding Inspirasi:


And this lovely dress is from etsy shop, Emorie. I love the handmade, vitage/modern mix at her shop.

When I was in college I spent a semester in China, and had a number of clothes custom made for me and they are so beautiful. If you've never done that, don't pass up the opportunity if it arises! Few things will make you feel as beautiful as a custom tailored garmet.

For example, the above coat from, Imoda by Xiaqq. Wouldn't you feel like the "Belle of the Ball" whenever you wore this? Which remindes me, have you seen, The Tourist? Oh, my goodness, the fashion is so glamorous! It'll make you want to wear dresses and pearls everyday! If I were, Elise, I'd wear something like this, don't you think?

(also from Shabby Apple)

Tuesday, December 21, 2010

Busy Bee!


I can't believe Christmas is almost here - I still have so many projects to finish! Why do I always do this to myself? Last year I swore I would start making Christmas in July, but I obviously didn't learn enough from my perpetual all-nighters! So, here we are again, 4 days from Christmas and I still have all these projects to complete:

...giraffe, dinosaur, one pair of shoes, 4 dolls and an elephant.


Not to mention the jammies that have been cut, but otherwise haven't even been touched. They will be left for last, because the girls really won't care if there are no jammies under the tree, and then they can be made for Valentine's Day - maybe they'll actually get done if I start them right after Christmas...

Wishing you and yours a very Merry Holiday!

p.s. And check out my sister's blog: Forever Wanderlust for the 12 Days of Shoes!

Tuesday, November 9, 2010

Sewing Machines

What kind of sewing machine do you have? What do you like/dislike about it? Do you have any other suggestions? I typically use mine every couple of days to sew clothes, toys (including small machine quilted items), blankets and anything else that strikes my fancy.

And while we are asking questions, how often should they be serviced?

I'm sort of, in - the - market for a new one. That really just means that they are on sale at JoAnn's and I have a 50% off coupon that is just burning a hole in my pocket.

Monday, November 8, 2010

Wall Art

There's a lot of art happening around here these days. I made these at a church social. They are just textured wall paper wrapped around stretcher bars (available at craft and hobby stores) and stapled in place.

Then I painted mine Intense Teal by Behr! I thought the color might be a little too intense, but I loved it so much I decided just to go for it. It took about 3/4 of the little sample jars you can get at Home Depot. After the paint dried, I glazed over it with copper.

I love them! The copper glaze took some of the brightness out of the teal, but it is still very bold - which I like. Kind of funny since I don't consider myself a very bold person. Hmm...maybe that's why I like the color so much. And they also have a worn, kind of vintage quality about them.

And, yes, that is snow outside the sliding glass door. We are getting pounded with our first snow storm of the season here in the Western United States. I've been super grumpy - I think I need some cookies and a cup of coco! And a healthy dose of sunshine. And maybe a little Castle, too.

Salt Art


Want to make these nifty, colored bottles with your kiddies? Or maybe, for yourself! The possibilities are endless, and since they are so cheap and easy, you'll want to make a dozen.

1 c. salt for each color
1 quart size zip-top baggie for each color
assorted food coloring
empty glass bottles (the ones pictured above are IBC)

Measure salt into individual baggies, add a few drops of food coloring. Seal baggies, and massage until color is distributed. For darker, more intense color add more food coloring. Prop open the baggies and allow to dry overnight.

To fill bottles: Use a funnel and layer colors. A small measuring cup or those plastic medicine cups that come with childrens medicine work really well for little hands. Make sure to tap the bottles on the table/counter a few times to make sure they get nice and full. We "plug" the tops with hot glue.

To make paper art (similar to this one that uses contact paper - good idea!). Water down some glue (or make your own). Use a paint brush to "paint" the glue onto paper, then shake on the colored salt. Allow to dry. Gently tap any excess salt off the paper art. The art can be made more stable by applying a thin layer of fabric starch, but too much will cause the salt to dissolve and make it look all smeary. We use leftover spice bottles with the slotted tops for shaking.

I also found The Mother Huddle blog with a great photo tutorial for salt art!

Monday, October 18, 2010

Kitchen Window

This is the view from my kitchen window -

Can you believe how beautiful it is? Its so amazing to watch all the colors change as the weather begins to cool. Every day I can pick out more and more patches of color. Soon there will be snow covered mountains, something I am not quite ready for. Hopefully, fall will last a bit longer.
The weather here has been unseasonably cool (notice the looming, dark clouds in the first picture). This always gets me thinking about canning. Which reminded me, I have a 30 lb box of Rome Beauties in my garage, just begging to be turned into something delicious. Maybe one day I'll actually get around to it.

We did, however, get around to the pumpkin patch. The girls love to go. Who wouldn't? Loads of pumpkins, in all different shapes and sizes to debate over. We came home with a bunch of little ones and a few big ones for carving in the next few weeks. Last year there was hardly any variety in color. This year we had everything from green to burnt orange.

What do you think is under the green skin? If I lightly carve it (as opposed to puncturing the entire rind, see here for an example), it would be bright orange?

Wednesday, October 13, 2010

Thrifting & Basil

Oh, how I love thrifting! I found these awesome patterns for 50 cents! This same day I also got a knee length wool coat (fully lined), wool cardigan, 3 dresses for the girls, an old suitcase, a number of sweet, Little Golden Books from the 60's and 2 vintage records - one of which was My Fair Lady! And, this is the best part, I only spent $50!

I love the hair styles on these patterns. Wish it would come back in style.

And, on a completely unrelated note, I had to share a picture of the last of the basil. It has been keeping the window company for the last week or so. Although I enjoy fall and the beautiful changing of the leaves, I also feel nostalgic for the warmth of summer. Sitting on the lawn with our neighbors, watching the kids run around and just enjoying time. Which seems to be so much more available during the summer months, even though we are no less busy.


Basil represents so much of summer's smell and taste. And tomatoes, too, but ours were not very happy this year, and the few tomatoes we did get, the girls plucked them off long before they were ripe. So, without further adieu, wishing you and yours a very festive autumn season!

Monday, October 11, 2010

Back to Blogging

We are trying to be up and running again this week with some fun crafting and cooking! After a month of being sick and some other family things, I am more than excited to have some time for myself! We are all doing well, and wish you all the best.

A peek at some of the latest happenings in the kitchen ~

Wednesday, September 1, 2010

Holiday Preview Part 1

I can't figure out what it is, but I am addicted to making these toddler aprons! When the sewing machine is calling my name, but I'm not quite sure what to make, I always pull out this pattern.

This time I was testing out how a single pocket would look. I do not know the correct way to fashion a patch pocket, so I just made it up and attached it to the green flower print. It looked ok, but I thought the stitching and quality was not quite good enough to be sold. So, I got out the Reader's Digest sewing book and made the pocket on the blue apron the "correct" way. I must say, it turned out significantly better. Maybe next time I'll just start by reading the instructions...

Just another look at the fabrics. I really liked the gray and blue. I think they will be really fun to have around for the Holiday sales.

Monday, August 30, 2010

Pillow Cases

I made some cute pillow case dresses for the girls out of my favorite sheet set. I just laid a dress they have onto the pillow case and traced it with fabric marker, then added 3/4 " to each line and cut away! That may seem like a big seam allowance, but then I have enough room for a French seam.

I loved these sheets, but it has been washed a few too many times and no longer fits the bed. The good news is - the girls get these way cute dresses that will be easily turned into tunics come fall and winter and I have a whole sheet set to make into something for me!
I was really excited to test out the elastic thread I used for the shirring at the bust-line. It was so easy! I didn't have any problems, even on my cheap-o sewing maching.

These were queen sized pillow cases and if I do this again, I'd do it with king sized ones. I didn't have enough fabric to double roll the hem or the sleeve & neck openings. Even still, these were a quick project and super cute!
Monday, August 16, 2010

Jaelyn's Stash

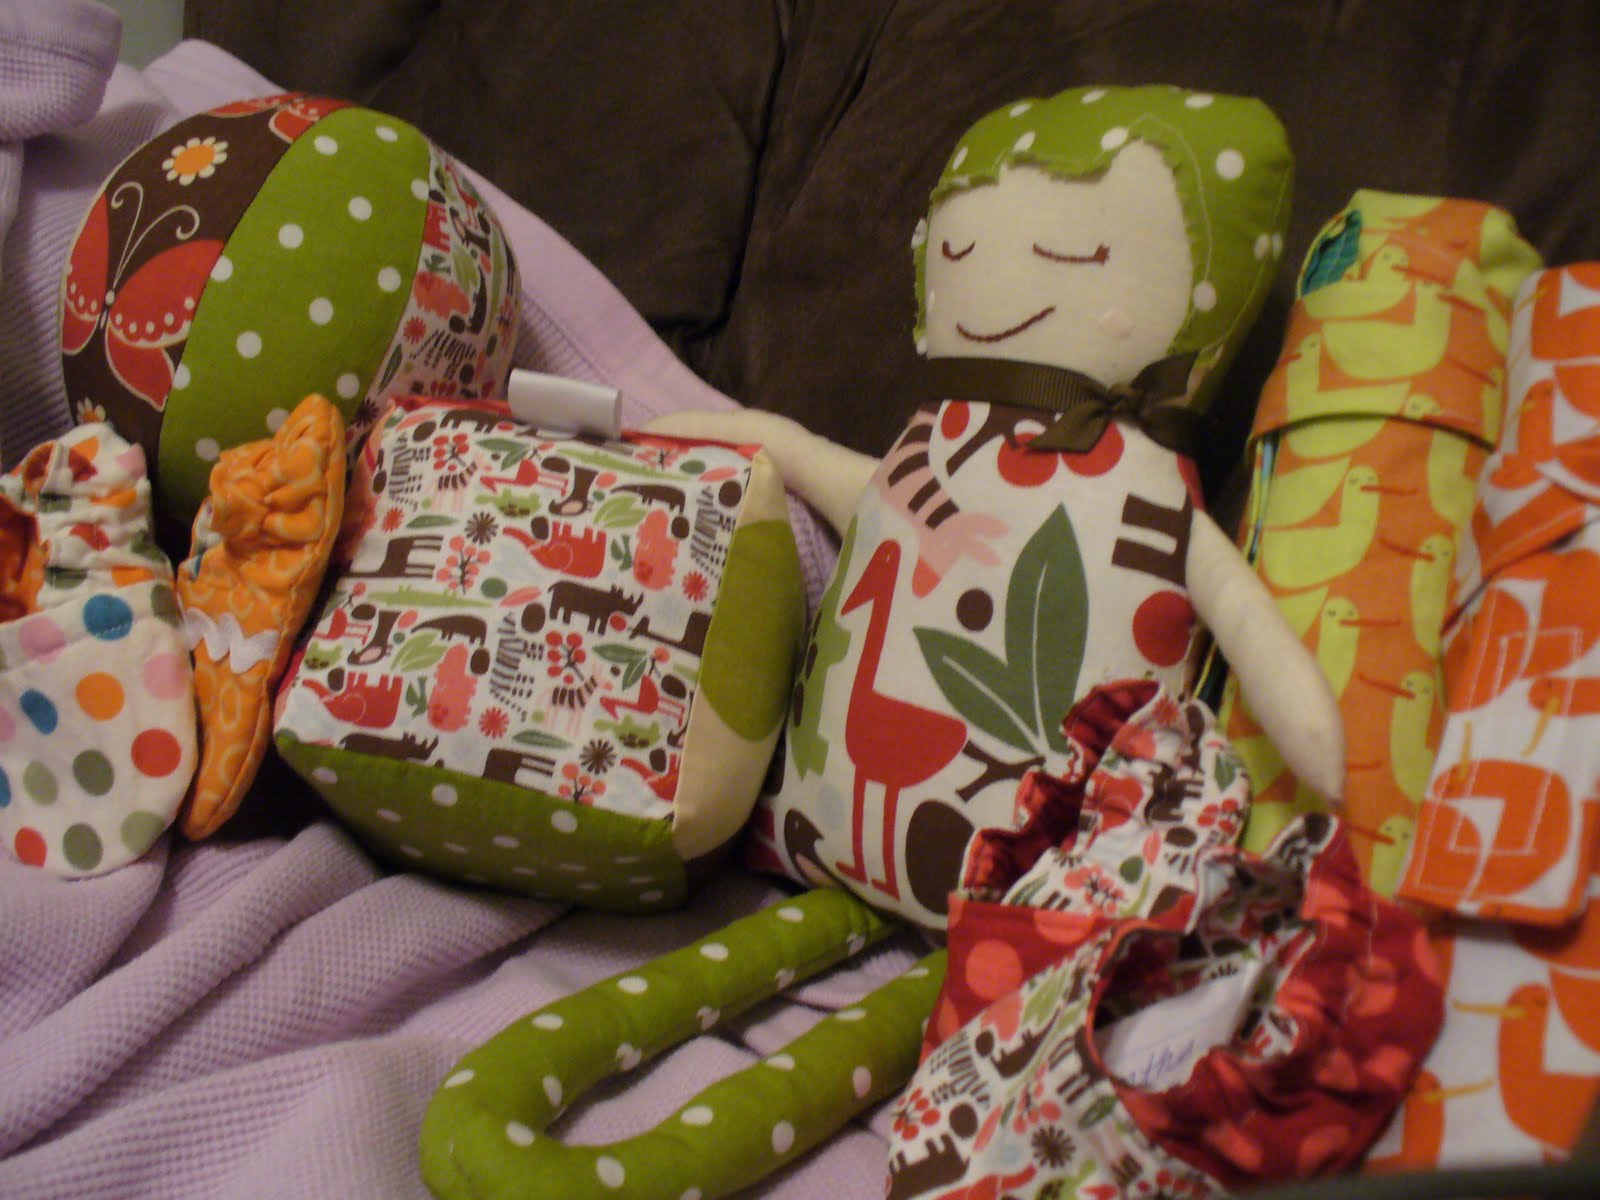
A few months ago, my friend Jaelyn and I worked out an awesome trade - photos of my babies for a basket of hand sewn goodies. I couldn't be happier with the trade. If you want to see her amazing work (and hire her), check out her blog at Complexions Photography!

Here are some more photos of the cute stuff she picked out!

Those are rolled up Art Aprons on the right hand side of the photo...

The adorable baby shoes came from Sweet Pea Patterns - they are reversible!

Oh, So Busy!

Gee whiz! I can't believe its been so long since I posted! With busy toddlers and a husband and 4 year old about to start school, it has been crazy! In my spare time (about 10 pm and later) I have just been sewing. Its seems that the sewing machine, and my fabric stash, are constantly calling my name. I'm afraid I have no photographs to share of finished products, instead there are just a lot of pattern folders, cut fabric and notions in my sewing basket.

I'm hoping to finish all the projects I have cut out by the end of next week so that my machine can be serviced before I being all the holiday sewing. We'll see how that goes...

The world of food has us eating a lot of Mango Slaw and Bruschetta. Yum! Since there are few true recipes for Bruschetta, I will share how we make ours.

8 roma tomatoes, diced
2 cloves garlic, minced or crushed
1 T. olive oil
1 handful fresh basil leaves, torn or finely chopped
salt & pepper
crusty bread to serve

In a large bowl mix tomatoes, garlic, basil and olive oil. Season to taste with salt and pepper. Slice bread and lightly brush with olive oil; grill or broil to desired crispness. You may also rub the bread with a cut piece of garlic before grilling, if desired.

Notes: Taste a lot - not just because it is delicious, but depending upon your taste and ingredients, you may need to increase or reduce some ingredients - especially the garlic or basil. This may smell quite garlic-y (our whole fridge does, even when sealed in Ziplock bags), but the mixture itself is fine. If you have any left over, it is especially delicious the next day!

Tuesday, July 20, 2010

Jam & Geneology

Spent the weekend with my sister and some aunts, pouring through suitcases full of old photographs, letters and pedigree charts. These handsome folks are my Great-Great-Grandfather, Charles and his lovely wife, Edith; the picture is circa 1900 (awesome!). The smaller picture is their two children, Gerrit and Virginia, circa 1920. How cool are those? I am totally enamored with them. It is so amazing to learn about your family - don't know much about your family history? Call a relative! Or check out FamilySearch - its free.

And amidst all this we squeezed in some time to make some apricot jam, of course.

Hope you all enjoyed your weekend as much as we did ours!